If you have a weak stomach then this post is not for you. I have contemplated posting this for months but never had the guts. Then I saw
a post at
Skip to my Lou that gave me some courage. Granted her room doesn't look half as bad as mine but it looks bad enough. :o)
I am one crafty Mama. I sew like a Madd woman and can whip out just about what ever I need to Johnny on the spot. I am very laid back and can go with the flow and change on a dime if needed. This craftiness has a price though. I live in a mess.
My crafting is usually guilt ridden because I can think of about a dozen other things that I need to do. So, when I craft I get in the sewing room as fast as I can, sew like a tornado and get back out to do the dishes or something like that. The craft supplies are usually left where ever I put them last and the pile grows. Also my house is in the middle of a construction zone as we add onto the house to move my mom in here. As we work on other rooms, their contents gets left in my craft room. That doesn't help. Also when company is coming with no notice, the contents of the living room gets dumped in the middle of the floor of my sewing room. That doesn't help me either. (thank you DH and D kids)
Then my sewing closet, instead of holding neat little boxes of crafty supplies, contains about 2000 pounds of wheat storage that is waiting for pantry room to put it.
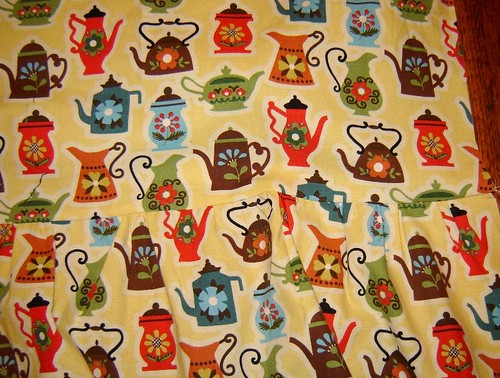
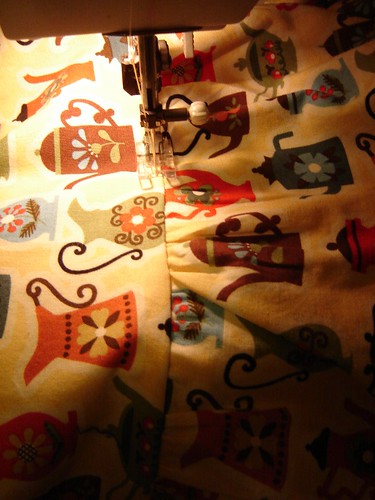
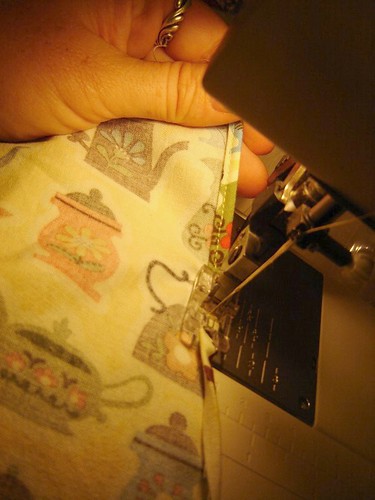
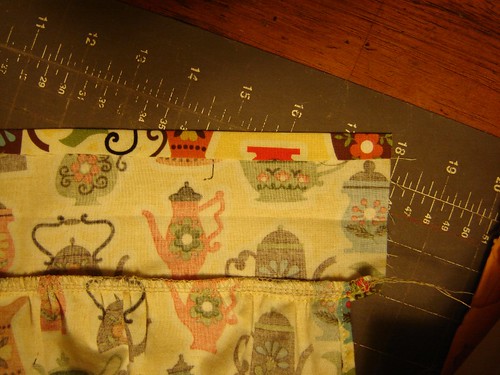
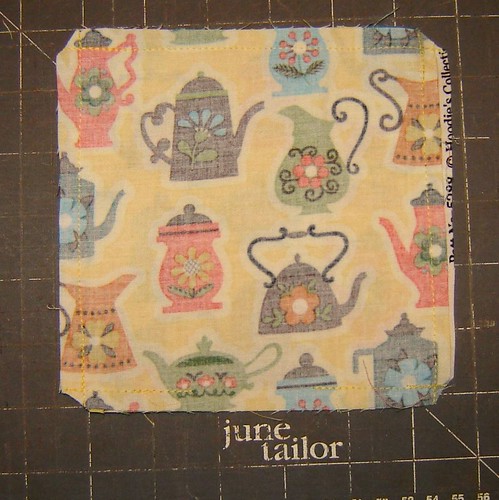
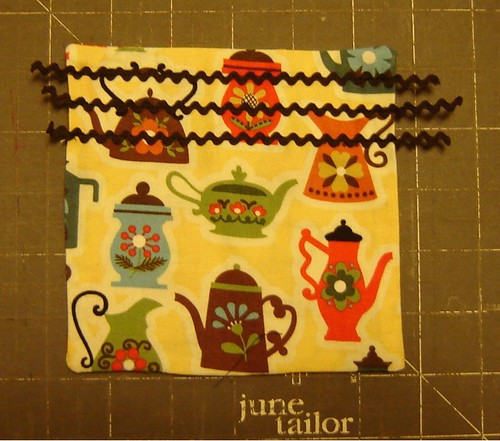
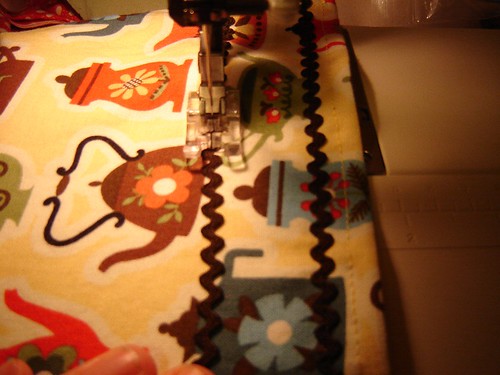
Also this is my room after about 3 weeks of insane Christmas sewing projects and a new pattern design.
Result.....
My sewing room makes me sick every time I pass it and I HATE to have people come into it to get supplies from me. I have tried all kinds of tactics that work for a month or two but then the clutter creeps back in as in crazy stress of my life goes out of control again.
So I am going at it like AA or the basic steps of repentance.
I AM ADMITTING I HAVE A PROBLEM.(are you wondering what the other steps of repentance are?..... I would be at this point, ....
they are 1 admit you did something wrong, make amends or fix it if you can, apologize for doing the thing to the person you hurt (self, others, God) and promise never to do it again and pray for forgiveness)
Back to the mess now.
Here is my plan. I had to shock my self into reality so I figured I would come clean and admit that I don't live in organized crafty land. I will admit that my craft space is the black hole of Calcutta (what ever that is).
AND....
I am posting pictures of my craft room on the first of every month this year to show my progress and keep myself accountable for my actions.
Trust me I am sick about the state of this room and more embarrassed that you can imagine that you are seeing my craft guts strung out all over the place. I contemplated cleaning it up a bit before the shots but that wouldn't be honest.
So here are the scary details of my craft room. Please run now if you are weak, this is very Scary!
View through the front door of my craft room.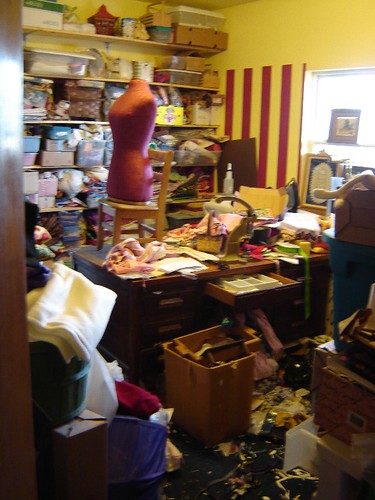 View through the back door of my craft room.
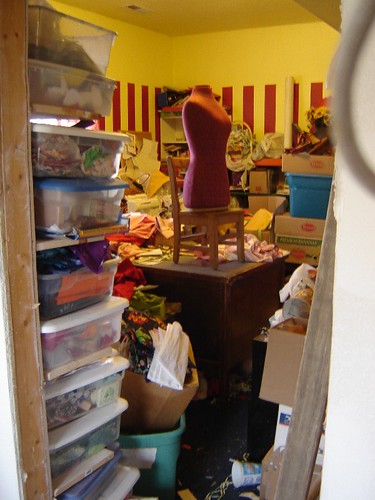
Yes my craft room has a back door. The contractor cut one so heat from the wood stove could get in there and keep me warm.
My SAD sewing table.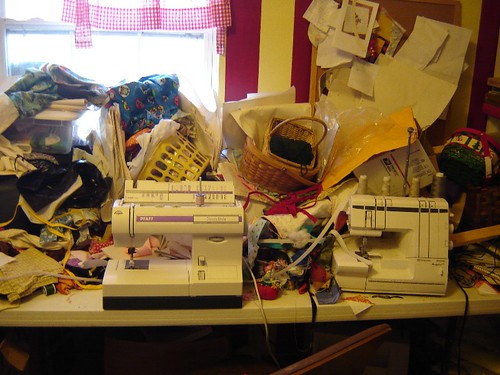
I really can sew there, honest.
My cutting table/desk.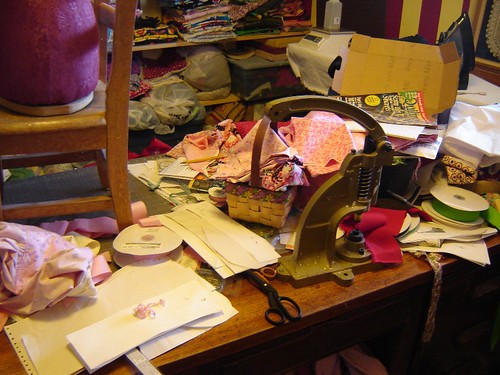
No I can't cut stuff there right now.
My wall of fabric storage.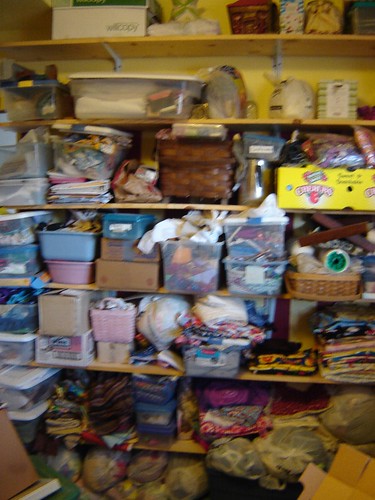
DH built these for me last year to help me organize and it did work of 3 or 4 months. Then the clutter came back.
Closet O' Crap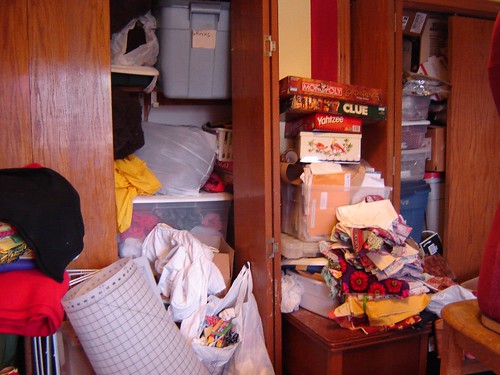
Honestly there are no excuses here. Can't think of one, except for the 2000 pounds of wheat in there somewhere.
There I have purged and told all. There are no more secrets in that room.
Now onward and upward. I am bent on cleaning and organizing the mell of a hess (to quot my dad) and bring order once and for all to my favorite room (after the kitchen).
I do plan on enlisting some help. I will be using the
Fly Lady and the
Slob Sisters since they are the ones that understand the cluttered person's mind and do realize that we are not lazy but just don't have a clue about order. Sorry we just don't get it but we ARE able to learn and do work very hard. We just need pointers. :o)
So I would like to issue the challenge to any of the rest of you out there that have been living with a deep dark cluttered secret and would like some public help to get it organized, to do just that. Go public and get it done. We will all be here to cheer you on.
I issue this challenge to everyone that reads this post.
***edited to add***
My plan for January:Set the timer for 15 minutes everyday and de-clutter in the sewing room for those 15 minutes. When the timer rings, turn it off and walk away. Why fifteen minutes - you can do anything for just 15 minutes. It is long enough to get some real work done, and short enough that you don't burn out. The ADD person can keep on task for 15 minutes at a time. The key is that you stay on that task ONLY for your 15 minutes. If you find things that need to be put somewhere else then put them in a basket, bag, or box and put them away when the timer goes off. If you don't you will distract yourself into another room or other task and get nowhere fast. Now we will see what that does for me and I will take pictures again on Feb 1st and see where I get. :o)