


It meets my criteria for a good apron - fast, fun and easy to make and only takes one yard of fabric.
This apron makes a quick gift for birthdays, Christmas, Swaps, or just because you love your friends. It works up in about an hour or less.
Materials
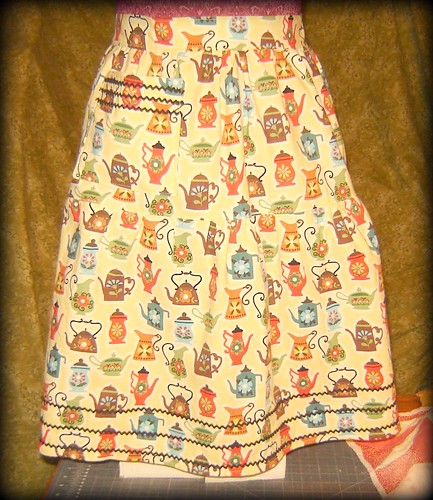
1 yard cotton fabric (the fabric I used is Morning Call by Hoodie's Collection)
4 yard ric-rack trim in a coordinating color
Cutting instructions
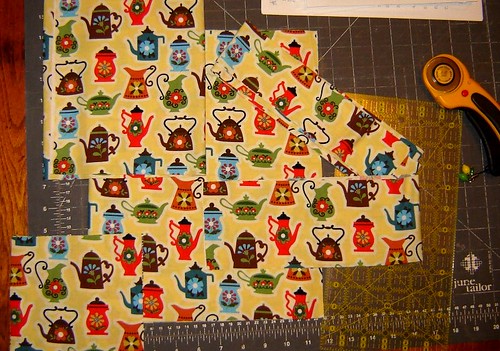
Apron:
Lower section - 13" by width of fabric
Upper section - 8 1/2" by 27"
Waistband - 4" by 19"
Ties - 2 1/2" by width of fabric
Pocket:
2 pieces 6 by 6 1/2"
Sewing instructions:
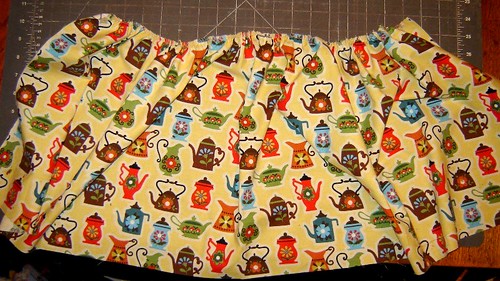
1. Take the lower apron piece and gather the upper edge of it.
2. Pin the top of the lower section to the bottom of the upper apron section. Stitch in place.
You can top stitch this seam for a more professional look if you like.
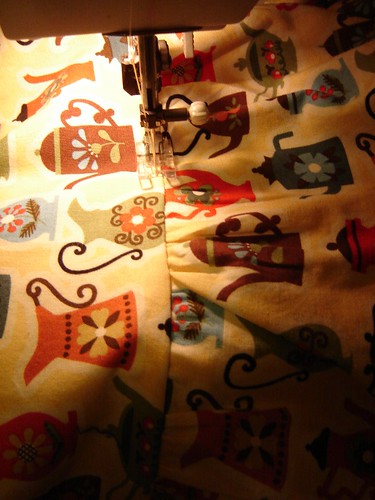
Be sure to press the seam toward the top to catch it in the top stitching. (by the way I finish all my seams with the serger or with a zig-zag stitch, nothing ruins a fun apron faster than ravelled seams on the back. It is just plain tacky!)
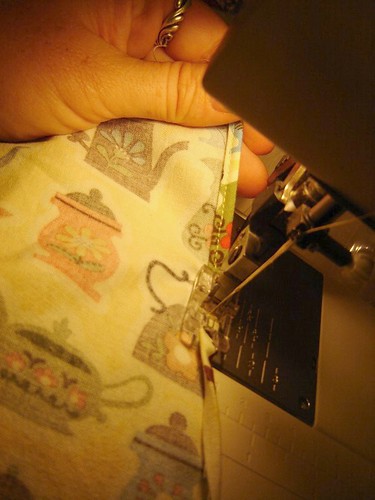
3. Make a narrow hem on the sides and bottom of the joined apron pieces.
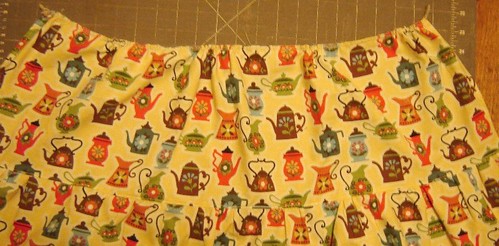
4. Gather the top edge of the upper apron section.
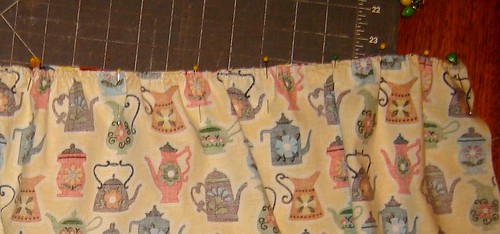
5. Pin the apron skirt to the waistband and adjust the gathers. Be sure to leave 1/4" of waistband sticking out and each side of the apron. Stitch in place.
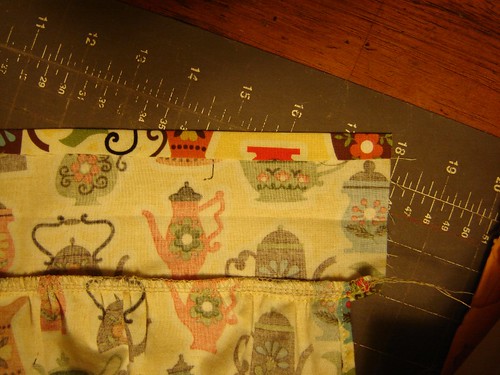
6. Fold the top edge of the waist band down 1/4" to the wrong side and press.
7. Sew up your apron ties. You can do this by folding them in half lengthwise and sewing down one long side and across the end and turning. OR... you can hem both long sides and one end of each tie by turn under a scant 1/4" and turning under again and top stitching. (sorry I forgot to take a picture)

8. Place the apron ties on the waist band right side down pointing toward the apron center and pin or baste in place.

9. Fold the apron waist band down toward the apron front with right sides together and stitch the short ends together. Turn the the right side out and press in place.

10. Top stitch along the base of the waist band catching the front and the back of the waist band making sure the apron skirt seam is inside the band. This will finish off your edges nicely.
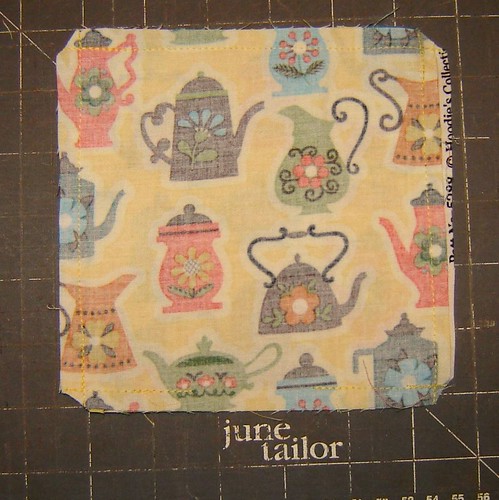
11. Sew around the pocket piece leaving an opening at the bottom to turn.
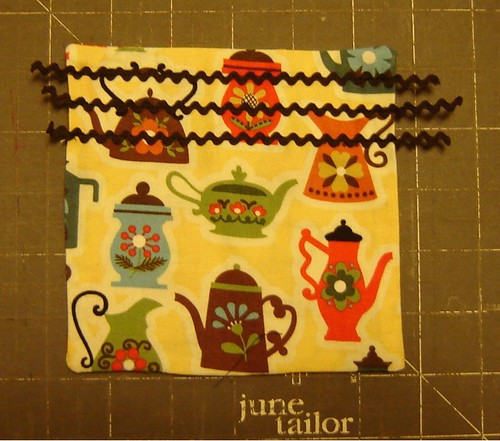
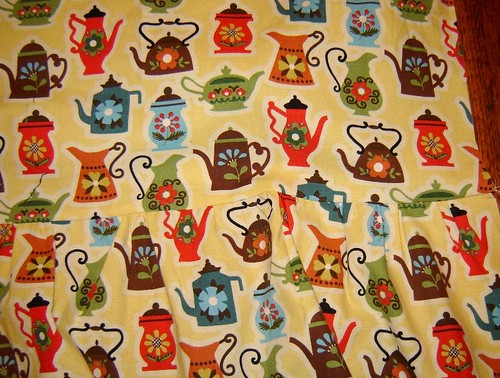
12. Clip the corners and turn and press the pocket. Place 3 rows of the ric-rack trim on the pocket and stitch in place about 1/2" apart. Be sure to leave about 3/4" tails on the trim. Fold these under when attaching the pocket to the apron to make sure they are secure.

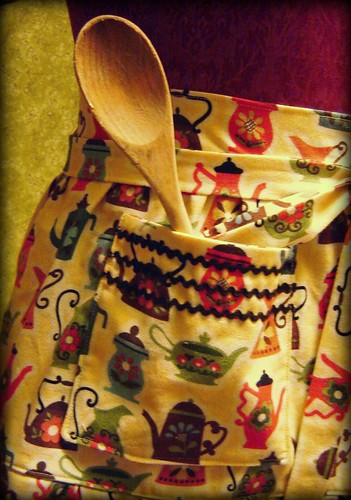
13. Position the pocket on the right or left side of your apron upper layer where it is comfortable for you. Top stitch around the sides and bottom of the pocket being sure to back stitch a few times at the top of the pocket to secure.
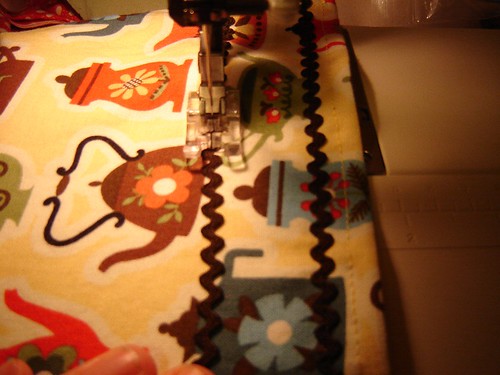
14. Sew ric-rack trim on the bottom of the apron in three rows about 1" apart. Be sure to leave tails and fold them under to the back side of the apron to secure in place. I am using just a straight stitch to secure the ric-rack.
You are now done and have a fast, fun, and flirty new apron.
This apron fits most. For a smaller or skinnier apron cut the waist band at 16". For a larger apron cut the waist band at about 22 inches and increase the upper portion to 30". The lower section can stay the same and will just have more or less gathers depending on if you are sizing up or down.


11 comments:
So cute and looks so much cuter than the half apron I'm working on now - that I bought the pattern for. Plus, your directions actually make sense, unlike the instructions that came with the pattern. Did I mention the "easy" pattern it qualified itself as? I should stick with my quick hour long online tutorials and stay away from the big names.
Thanks for the great tutorial!
way cute! I've got some remnants I bought and now I know what to do with them.
cute as always! Thanks for the tutorial!
Hi! Lucy ~
Great tutorial! Cute apron and really cute fabric:)
I'm adding this tut to my "Handmade Christmas" list on my side bar. Thanks!
Have a great day!
Cathy
Love it!! I will defently be trying it!!
Ok, this is such a clever use of a yard of fabric!!! Thanx for the tutorial...I luv that it is a quickie 1 hour project, any fun fabric will do and it can be simple in decoration or one can add some bling....and well....the ideas are endless.
Thanx again for agreat tutorial.
Oh & I LOVE this fabric print....so very retro kitcheny cute!
>^..^<
Love the fabric!!!!
I love this apron! I think I'm going to attempt making it a two layer apron with the back longer than the top to see how that looks. Very good basic instructions, I'm a little confused about how the whole waste band thing works, but I think it will make more sense as I'm going along. Also, I can't leave your page with all of this great music! :)
Made this apron this afternoon for my sister and it is easy to make and looks beautiful!! Thanks for sharing it.
Your designs are so clever. So are the recipes. You are a busy woman! Even the kids are cute!
making one today.. thank you for the instructions... Love the music.. LOL i thought i lost my mind I couldn't figure out where the heck is was coming from!!
Post a Comment