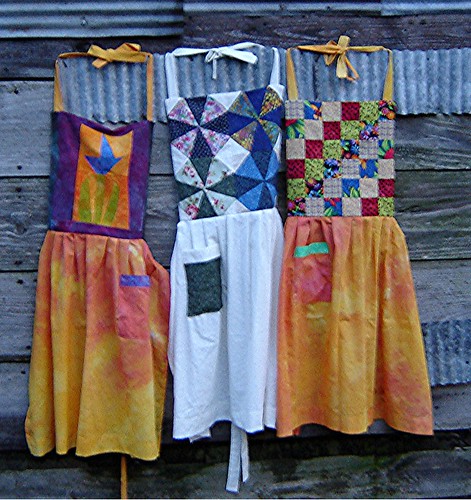
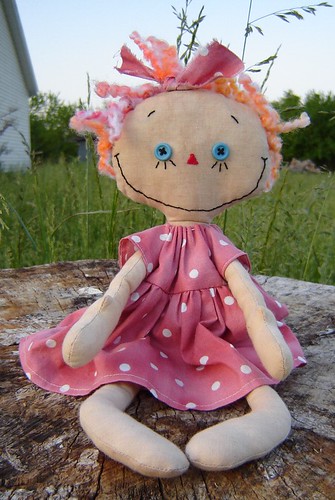
I have really been debating what to do this month. There were several options and I decided to go with this in the end. In our quilt guild my niece,
Rebecca, has issued a challenge to get rid of your
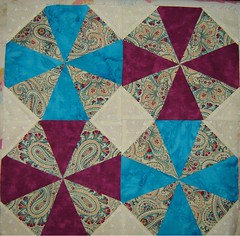
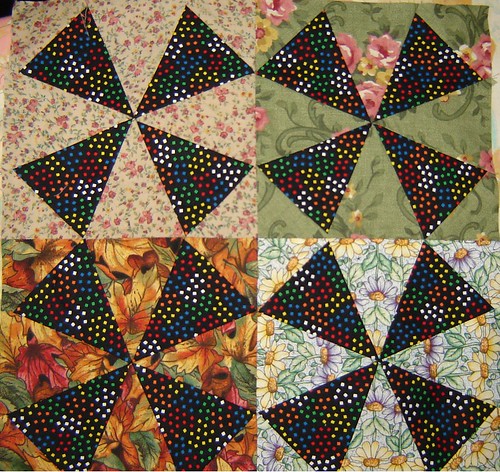
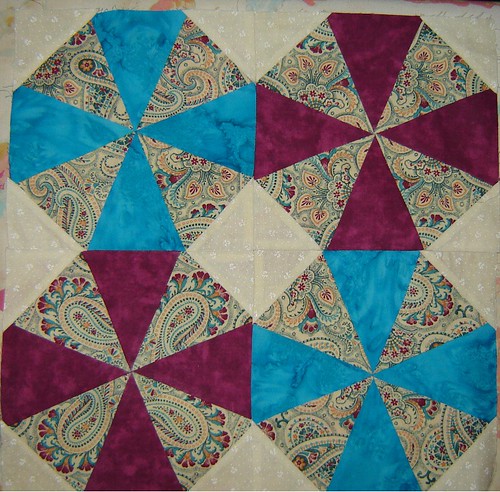
UFO's (unfinished objects). So I decided to make a pattern for an apron that can use up stray quilt blocks. The blocks in these 3 aprons are all from my UFO stash. The first block is a flower done in Cave Man Quilting style that I learned from watching Ricky
Tims over a year ago. It has been kicking around my sewing room just waiting for a project. The second apron is a left over block from winning the Block of the month drawing in my Quilt Guild, the
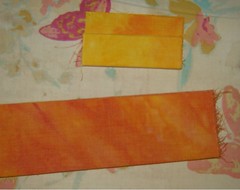
Newtonia Battlefield Quilters Guild. The third block is one from a pattern my mom introduced to the guild over a year ago called Scrappy Around the World Block. I love that block and it just needed a project. Also in keeping with the theme of recycling or finishing. The orange skirts are part of a very old project. I hand dyed a sheet a while back and used some of it for a project. I saved the hemmed ends of the sheet and used them for the skirt of the apron because they were already hemmed. This apron pattern came from the first apron my mother gave me a long time ago. It is now falling apart and I wanted to preserve the pattern and keep it in memory.
Well...... on to the
Tute.....
Fabric Requirements:
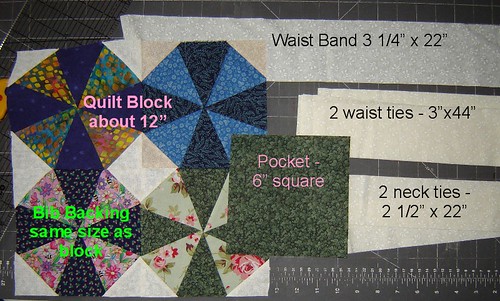
2 Neck ties - 2 2/5" x 22" (or half the width of your fabric from salvage to salvage)
2 Waist ties - 3" x 44" (or the width of your fabric from salvage to salvage)
1 Waist Band - 3 1/4" x 22" (half the width of the fabric)
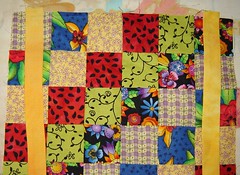
1 Skirt - 25" x 44" (the width of your fabric)
1 quilt block (about 12" remember that an unfinished quilt block will measure 1/2" wider than the finished block will be)
1 Bib back - cut the exact same size as the quilt block
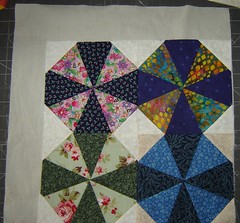
Always use 1/4" seam allowance1- Make yourself a quilt block. There are tons of free on-line quilt block patterns to choose from. My favorite place to go is
Marcia Hohn's Quilter's Cache. If you like the Tulip I have up in Apron 1 you can get the instructions from
Ricky Tims.
OR.... if you are lucky enough to inherit one or get one at a flea market, Use it.
***NOTE*** If you get a block and it is stained, do NOT wash unfinished. Finish the project you are making with it and then wash it.
A good size for a block is about 12". If the block you have chosen isn't 12", you can add boarders to the sides as needed.
2. Cut a backing piece for your bib the exact size of your quilt block.
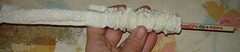
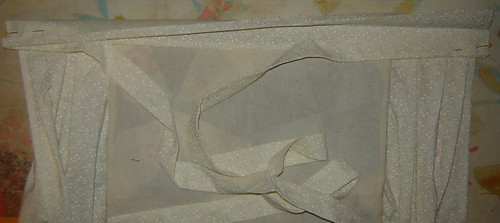
3. Now make your neck and waist ties. Fold your ties in half lengthwise. Stitch along the long side and one end.
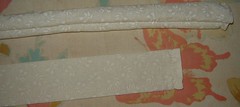
Clip corners, turn right side out and press the ties. I use a long chop stick to turn skinny things like ties and doll arms.
4. Attach the neck ties. Place the neck ties at the top of your quilt block right side up. Place them where you would like them. I like them at the outside corners. Remember to place them at least 1/2" in from each side to leave space fro the seam allowance. You don't want to sew them into the side of your bib.
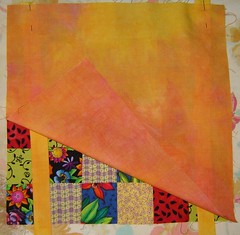
Now place the bib back piece on top of this with right sides together. Stitch around the sides and top of the bib. Leave the bottom open. Clip the corners and turn it right side out and press.
5. The Skirt. Hem the bottom of the apron skirt and the sides. I do this by folding the bottom edge down 1/4" and pressing it. I then turn it under again about 1-2" and press again. I top stitch the edge to finish the bottom hem.
For the sides I fold them in 1/4" and then fold them in again and stitch it down.
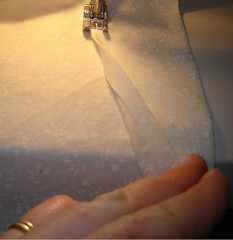
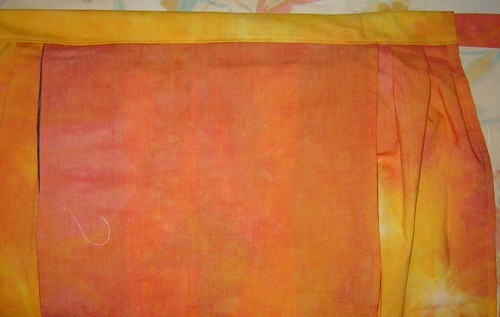
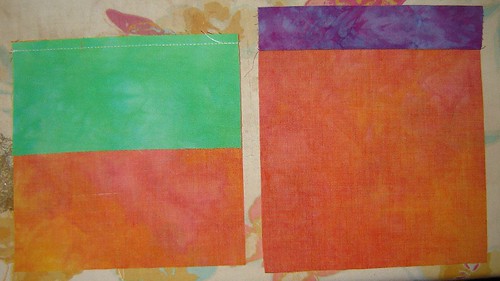
6. Gather the skirt. To draw the skirt in to fit the waist band you can gather it or pleat it. To gather it, run 2 parallel rows of stitching
across the top of the apron. then gather it in to fit the waist band OR... you can pleat it. I cheated on this. I took the
waistband and the skirt and folded them into 16
ths and pressed them really well with the iron. (if you do this make sure that you leave room for the seam allowance on the waist band part. I hope you can see that in the photo.
Now to pleat the skirt. Take the bib and place the back of the bib on the face of the apron. Center it in place a pin it there. Now take the skirt and match up the fold marks with those of the waist band. In them in place where the folds are. Now flatten your pleats in what ever direction makes you happy. (make sure that you put the apron and bib right sides together.

Sew the bib, band, and skirt together.
Now on the top edge of the waist band, fold it under 1/4" and press. Fold the band over, right sides together and press. Now slip the apron ties into the band and pin in place. I know that my wording is confusing but look at the photo. I hope it makes sense.
Stitch each end of the band, clip corners, turn and press. Top stitch the bottom of the band to close it or you can hand whip stitch it together.
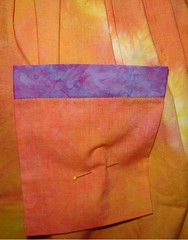
7. Place the pocket. Now put the apron on and tie it in place. Put your hand on the apron where you would like the pocket and pin the pocket in place.
 Oops
Oops we need to make the pocket. Take your 6" square and the accent band and place them right sides together and sew them along the top. Fold the seam open and press.
Now take the top edge of the accent piece and fold it under 1/4" and press. Fold the piece in half and stitch in place.
Now go and pin it where you like it and stitch it in place. Remember to re-enforce the tops of the pocket to keep it from ripping off.
NOW you are done.
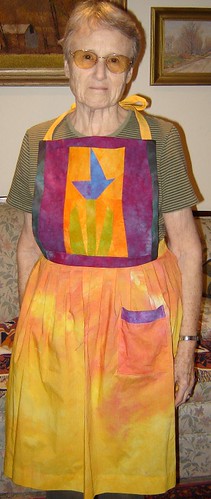
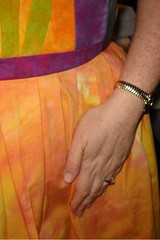
This is my mom wearing her new Mother's Day Apron. :o) I have to say it is my favorite.
Now I have 2 extra quilt blocks that need a home.
I would like to give them to 2 of you. So, I will do a drawing of the names of people that add a comment on this post. I your comment I would like you to share something quick about your earliest Apron Memory. (a quick description, who wore it or something like that). I will put the names of all the commenter into a hat and draw out 2 of them next Sunday (May 20
th).


 Yea! They are back in stock. Thank you for your patience and continued interest in Mama Byrd Creations!


 Join our flickr group and display the things you have made with tutorials from My Byrd House


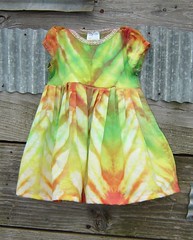
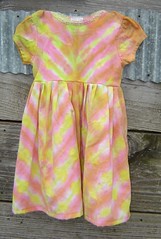
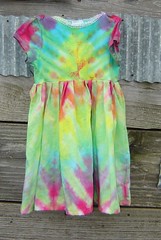
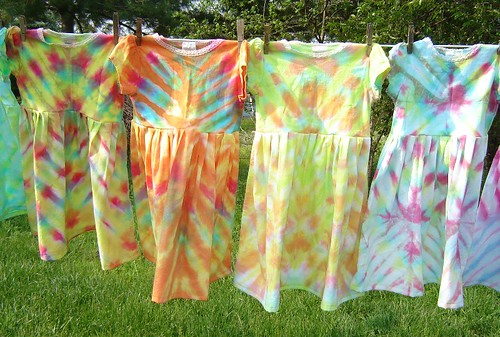
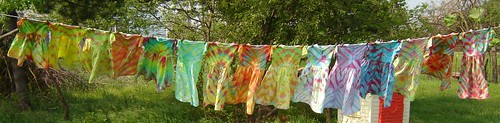 I did tie dye this week. I love to tie dye. I made up these 15 little dresses (12 mos to 4T) for fun this week. Kara asked me to make 2 new ones for my niece Emily because she wore her other one out. I also needed to make one for baby Claire so I just had fun making a bunch to choose from.