My Fabulous sister
Jeanne came for the weekend. She was our program at our quilt guild.
She taught us some really great quilting tips that I just might blog later.
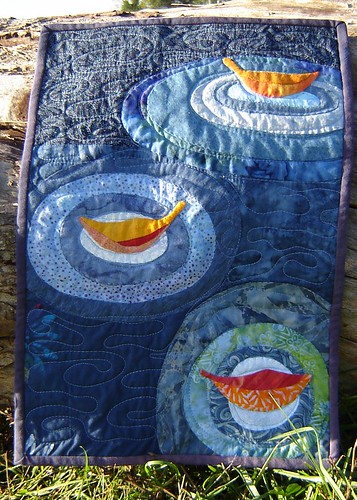
One thing she showed us was Shadow Applique with silk flowers. It was gorgeous.
Here is a quick tutorial for how to do it.
Materials:
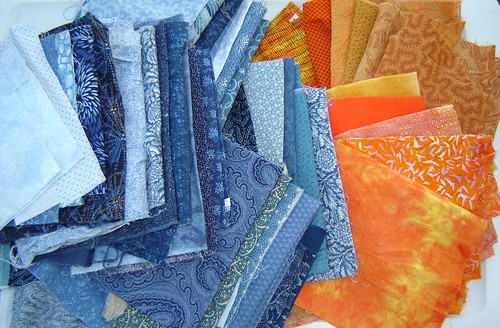
silk flowers
backing fabric
batting (something dense like cotton)
background fabric
rainbow organza
safety pins
daring foot on your sewing machine
Getting started:
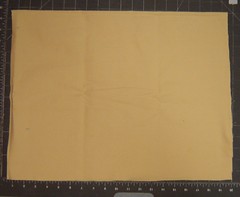
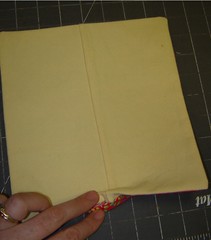
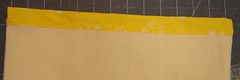
1. Layer your quilt back, batting, and background fabric. Make sure that the backing and batting are slightly larger than the background piece.
2. Tear your silk flowers apart removing all plastic parts. Audition the flowers on your background. You can use leaves and fern bits, but be sure to remove and peel off any plastic.

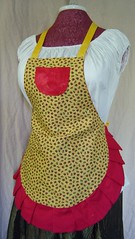
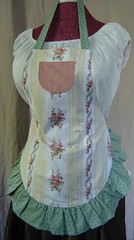
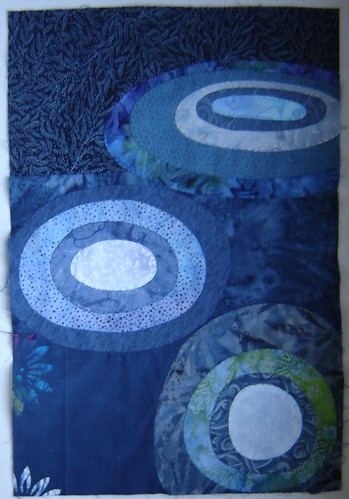
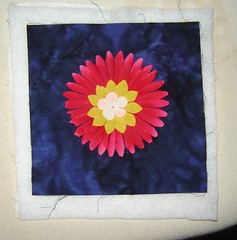
(here is a larger one I did)

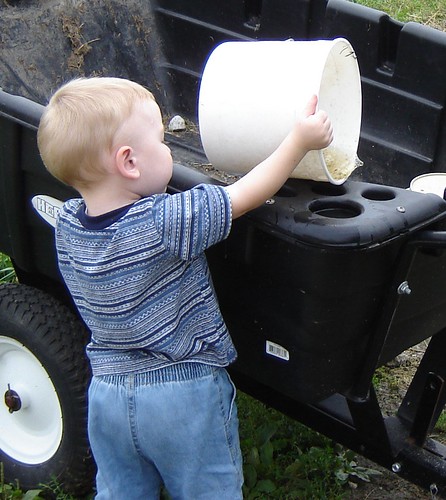
3. Now take a short break and rock your baby to sleep.
(I quilt in the real world which requires MANY interruptions from little ones and requires an occasional
snuggle. You must be forgiving of my quilting later as my little prince charming was sitting on my lap as I quilting and we got a bit wobbly with the stitching.)

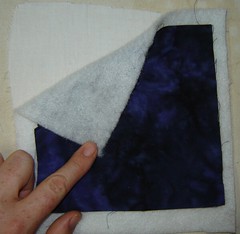
4. Now audition your organza and find the exact color pattern you want.
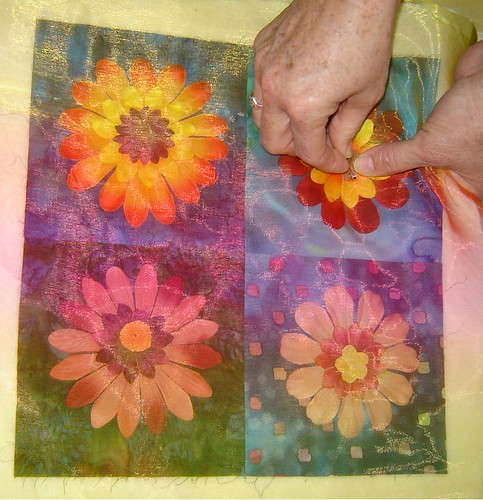
5. Now pin the layers in place, through the flower centers. Use safety pins. (the curved quilting pins are great).
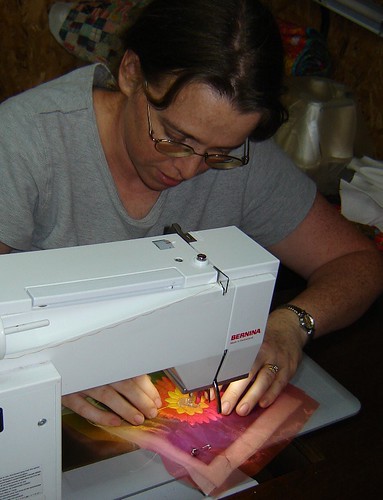
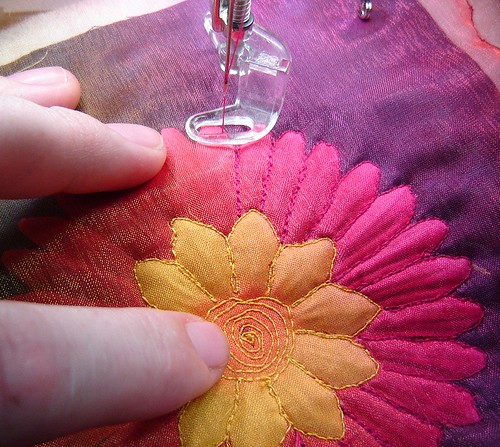
6. Now you need to machine quilt your piece. Some tips here are to match the thread to the flower part you are quilting. Use a matching
bobbin thread. This prevents any pop-ups from showing. Use a non
descript thread color for the background. I use a mossy green. Also, start in the center of your flower and work your way out. Do the centers of all your flowers first to help anchor your piece.
7. When machine quilting, you need a darning foot and you need to drop your feed dogs. To get started with a color, take one stitch and draw the thread to the top. This way you can be sure not to bunch up or
bobbin thread on the back. When you are done you can neatly clip the threads. Remember to secure your stitching before ending too.
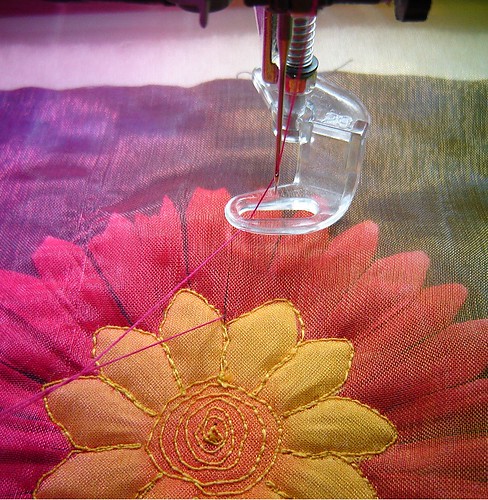
8.
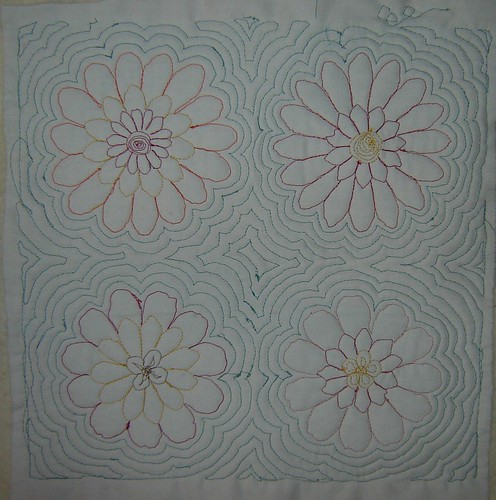
Free motion quilt around your flowers to add detail.


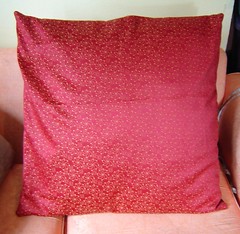
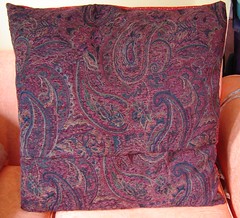
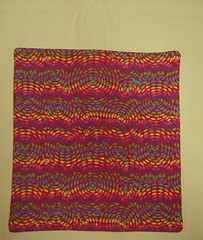
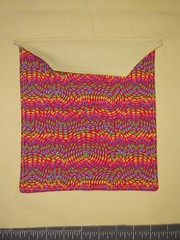
Here is the front and back of the small block. I don't' think it need more quilting as it is so small.

9. Fill in the background as you see fit. This adds great detail and texture to your piece. A safe way is to echo stitch around your flowers. This isn't too hard not too creative and it is easy to pull off without looking too bad.
I am going to have to practice more quilting. That was so much more fun then I though it would be. Hard but fun.