


Emergency Candles
Supplies
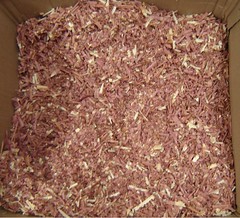
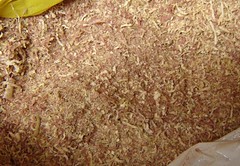
Sawdust and or wood shavings
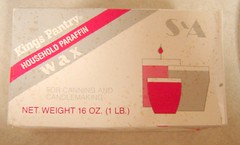
Wax - paraffin or old candle ends
Empty Juice Cans (46 oz)
Proportions
6 cups loose sawdust
12 oz (1 1/2 cups) melted wax
(we actually measured it by 1 1/2 cans of sawdust)
Directions:
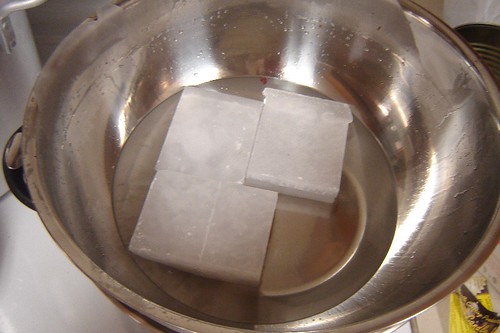
Melt the wax in some kind of double boiler arrangement over boiling water. We used a large pot with a large bowl on top. You DO NOT want the wax melting in something over direct heat of any kind, the chances of a fire are too great.
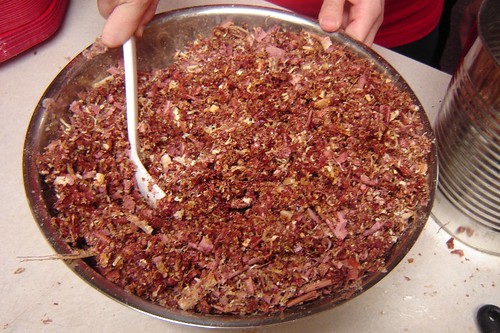
Pour over sawdust and mix well.
When it is cool enough to touch you can mix it with your hands.
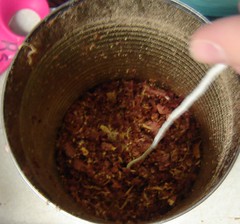
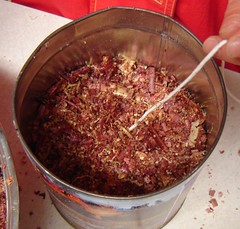
Pack the wax/sawdust mixture tightly into the can within 1 inch from the top. You really want to pack it down hard and tight. The instructions called for a wick for lighting the candle. We packed in around it all the way to the top of the candle. Trim the wick.
(Idea here...... The wick is only used for the first lighting and I am not sure it is even needed there. For the next one I make I am going to stick a birthday candle in the top layer of the candle so that maybe 1/2 inch of it is sticking out for lighting.)
To burn the candle
***********SAFETY SAFETY SAFETY************
Keep out of reach of small children.
Have the candle on a flat, secure surface.
Protect surface with an trivet or pan to keep from melting your counter top.
Keep a lid or tin close by for extinguishing the candle. DO NOT BLOW IT OUT! You will at least singe your face and hair if not start a fire!
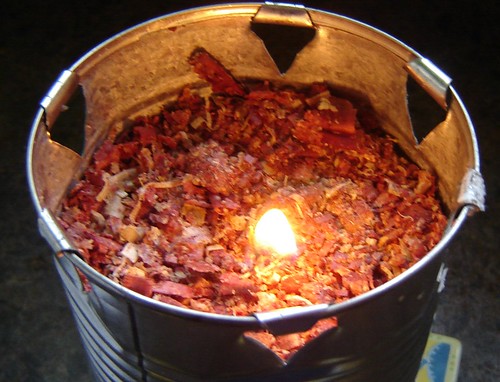
Light the wick and step back and watch it take off. (you might want to test your first burning outside, away from the house.)
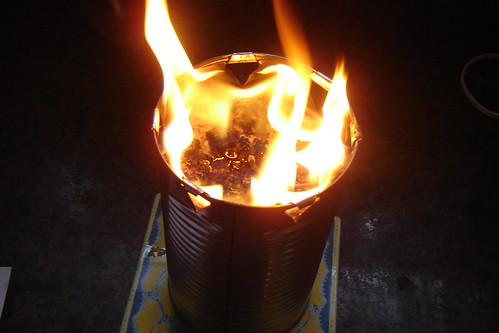
Enjoy the large amounts of heat produced.
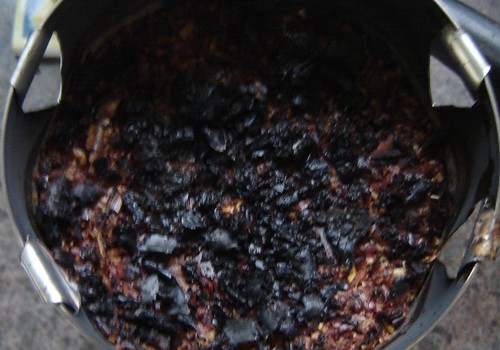
You put the candle out by putting a metal lid or something flat over the top for a few seconds. Warning it will smoke a lot when you put it out so you might want to remove it outside quickly.
For the next burning you just drop a lit match on the surface and it takes off. (I really think you could do that to start with but just for the sake of following rules, I included the wick.)
You may have noticed the holes punched in mine. Those are not necessary for a heat candle. I added those because I was told you can cook on one of these. Problem.... The wholes are for air, flame or something and when I put the pan of water on top of this, the flame went out within seconds. Not cool. So I will be looking for ideas to make this work. The selling point on the candle for me was that I could cook on it in an emergency and I plan on doing that so I will be experimenting until I come up with a way to make that work. :o) Then I will share the info with you.
A candle this size should heat a 9x12 foot room and keep it from freezing for about 10 hours. I have not tested this yet though. That is what I gathered from people who had made them.
I really want to make a smaller version of this and use it to cook food or heat water for our 72-hour kits. This is something my older children should be able to use themselves during an emergency situation.


16 comments:
another blogger recently posted about another of these made with toilet paper, a can and alcohol. She placed the can in her sink and put an oven rack over the sink to cook over it. ;)
you could maybe toast little bits of bread on it or toast marshmellows!! great idea though!
That would be fun. I need to make sure that such lovelies are in the "survival gear". Toasted marshmallows would make life without electricity (for a week) more fun for the kids. I am not giving up on cooking them. I will win. I always do. hee hee
I stubbled across your blog a while back, and I love it. Thanks for all the great ideas.
What size can is that?
When we made the sawdust candles, we used tuna cans. To cook with them, we took a #10 can (the giant ones) and turned it upside down. Holes for ventilation were punched around the top, or the end where it wasn't opened. A door of sorts was made by cutting two slits about 3 inches long and 2 to 3 inches apart up from the open end of the can. Bend the metal outward for the "door." The tuna can was lit and placed on the ground. The #10 can was placed over it and used as the stove. You can adjust the flame of the tuna can by opening or closing the "door" with long handled pliers (this controls how much air the candle gets). We used these under a pavillion to cook during a rain storm. And definitely use a flat lid to extinguish the tuna can.
These are the juice cans that hold 1 1/2 quarts (Pinneapple juice can).
I will have to try it in the tuna cans. I didn't know how to "use" the #10 cans that way and it was on our list of "to figure out" things as a family. Thanks for posting the info. We might have to try that tomorrow for family night. I will have to post the results. Thank you!
Hi, Love the idea of that heat source... could you tell me if it matters if you use sawdust from treated or untreated wood?
My guess would be that you want untreated due to the chemicals released while burning.
We used to do the tuna can method in Girl Scouts. The innards were rolled corrugated cardboard cut to fit the height of the tuna can then the paraffin was poured over that. I'd forgotten how the #10 can was configured to work so thanks for that reminder.
I have always used a giant Maxwell house tin to cook in, with the heat source down inside, with three holes at the bottom of one side, and three holes at the top on the other side for air and heat distribution. these would work so well in the cookcan!!
thnks so much
I never thought about making large ones to heat in an emergency! Did you figure out how to cook on it? We made the tuna cans as emergency lighting, at church, but this is an extension of that concept. I need to get friendly with some beekeepers. =)
I think we could add some type of essential oil in the wax mix that would make them smell better burning??
I am sorry I cannot find anything definitive after seeing some species of wood listed as giving off toxic fumes when burnt. Something to think about. You will need to do your own research. Some woods give snap, crackle and pop and readily produce cinders which might set nearby objects alight. I am experimenting with rocket stoves so I can attest to that. But I do my research outdoors and remain upwind and because you can read this, have not encountered any toxic woods yet. I use something similar to this by stuffing bits of birthday candles and mopped up cooking oil and grease and used tissues into a used toilet roll, toothpaste box, etc and hammering it tight as a fuel pellet. Crushed paper burns but the ashes choke my rocket stove.
no wick just light with a small propane torch
What about creating a cover made out of chicken wire to place your food on? If you could find a food and heat-safe paint to coat it with, it could even work like a mini-grill.
Try only filling can half full for cooking. Think your problem was it wasn't getting enough air.
Post a Comment