This apron is very simple and fun. I guess I should tell you the background story first. Last month on the 22 of February, I found the FLY Lady. She has changed my life. I have to tell the truth that I have lived in CHAOS (can't have anyone over syndrome) for years. I am a little ADD (OK maybe a lot) and I get lots of projects going and then move to the next and live a very busy life. House cleaning is not my favorite thing to do. I have never been very successful at it. I just seem to get so distracted with it that I end up starting everything and finishing none of it. Things seem to pile up and I don't know where to begin. Well, when I was led to the Fly Lady site, things changed for me. She has a wonderful plan of baby steps that helps the distracted to focus on their messes for only 15 minutes at a time. This concept is changing my life. My home is now not perfect yet but I can have people over without just dieing of mortification. My family is also slowly picking up these good habits and we are seeing family changes that are making life so much better. I know that her program isn't for everyone, but if you have been living with CHAOS or have clutter problems, I recommend giving her site a visit.
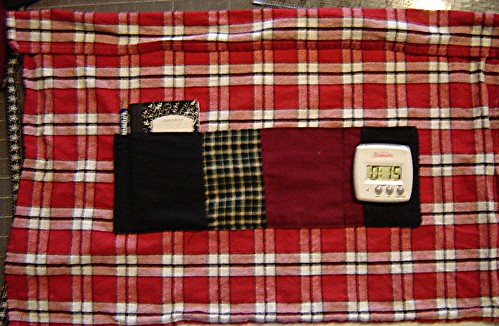
The March Apron was inspired by the Fly Lady ideas. It is my Fly Baby apron. It is simple in design so it can be quickly made and it is very functional. I use it when I am cleaning house. The pockets in the apron are made to carry my timer too help me manage my work. There is another pocket for my notebook. I use it as a mini "control journal" to keep me focused on what I am doing. I have spot for a pencil and a large middle pocket to put those things you pick up and need to put away. I love this little apron and hope you do too. You will have fun making it.
Here are the instructions:
First, get a good heavy dishtowel. If you don't have one then just cut out a rectangle of heavy fabric and hem it up. My dishtowel is 27 1/2" by 17 1/2" finished.
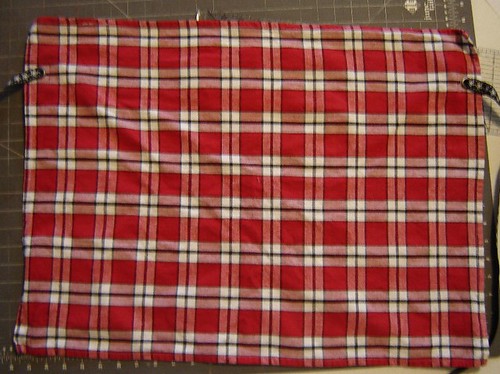
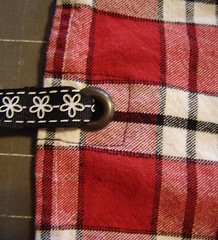
Next I attached the ties. For this apron I had my good friend Jill over and she brought her grommet press and put grommets in for me 3 1/2" down on each side. We did this so that the top of the apron can fold down in front over the apron ties. You can do it this way or you can attach them at the top corners of the apron. You don't need to use grommets. We just liked having and excuse to use the press. Hee Hee.
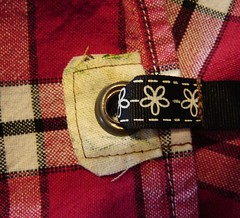
Here is a close-up of the holes. We added a scrap of heavy fabric to the back to re-enforce the grommets.
Next I made the pocket for the aprons. I made these of patchwork strips of fabric.
The pieces are :
black 10 1/2" x 5 1/2"
black 10 1/2" x 3 1/2"
red 10 1/2" x 5 1/2"
Plaid 10 1/2" x 3 1/2"
Sew the 5 1/2 black to the plaid. Sew the red 5 1/2" to the black 3 1/2". Next sew those two sections together.
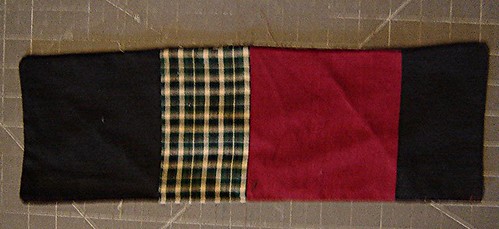
Now attach the pocket to the apron. To do this, I top stitched around the outside of the apron. Then I stitched the pocket spots down. I went over about 1 inch for the pencil. Then I went over 4 inches from that and stitched along the seam of the black and plaid for the notebook pocket. On the right side of the pocket, I wet over 4 inches into the red fabric for the timer pocket.
To finish off the pocket I added a little patch with Mama Byrd on it. She is my little logo for Mama Byrd Creations.
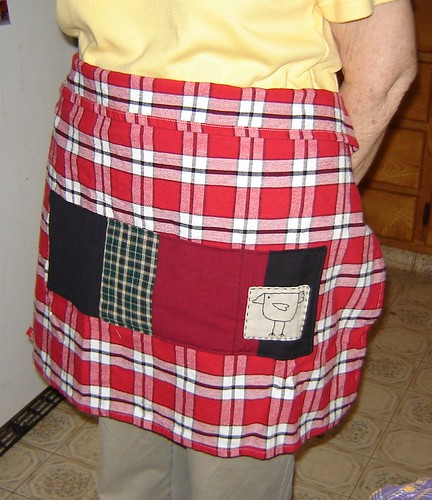
As usual I did make up some extras and this time Rebecca got one for being my Fly baby partner and always cheering me on. Jill got one too for helping me with the grommets.
I do have a few left over and will put them on my Etsy site. Sorry these instructions are so sketchy but I feel really terrible that I didn't have them on before and really need to post them for you all.


