


This is the fasted apron tutorial yet. It is for a double sided, half apron. It is cute, sturdy, and fun.
Materials
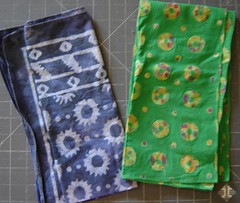
2 large bandannas in different colors.
Something for the ties - I used twill tape, but ribbon would be nice too. (remember, use what you have before going out to buy more, reduce, re-use, recycle)
(BTW the bandannas are a recycle, I use them on my head and to line my soap baskets and festivals.)
On with the tutorial ......
1. Get two bandannas.
2. Line the bandannas up.
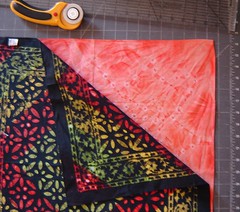
Bandannas are irregular in size and you will have to shift them around to get them to fit at their best.
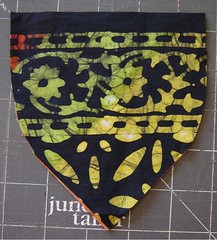
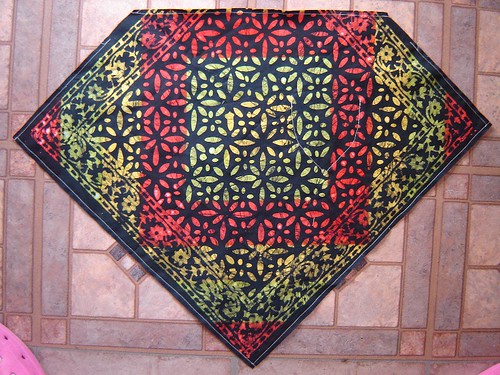
3. Square up the bandannas.
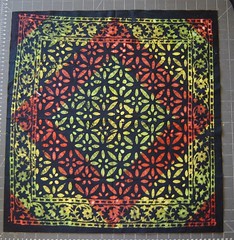
This apron is a square so for it to look it's best, you will have to have a square to begin with. The size isn't that important, just make sure all the sides are equal and that the corners and square.
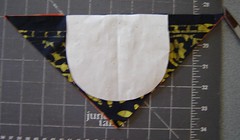
4. Cut off the top corner.
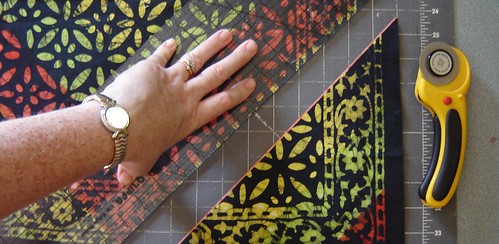
This is the top of the apron now. I measured in about 10 1/2 inches from the top corner on each side to make a triangle.
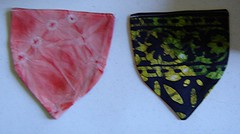
5. Make some pockets.
I took the leftover triangle, folded it in half, placed on old pocket pattern piece on it and cut out 4 picket pieces.
6. Sew up the pockets.
Sew around the pocket, leaving an opening to turn it.
Turn and press the pocket.
Top stitch the pocket top.
Place them on the apron fronts,
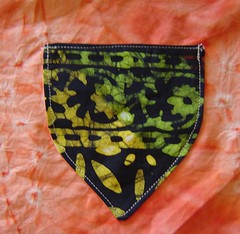
and stitch in place on each side of your apron.
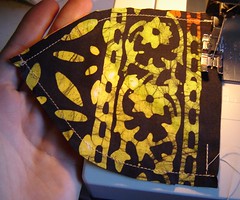
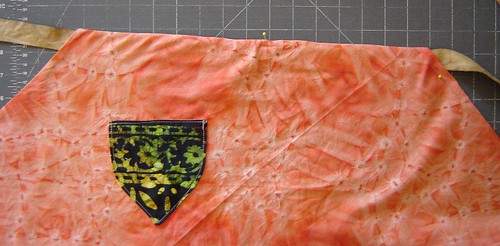
7. Stitch the apron together.
Lay the front and back of the apron right sides together.
The stitching is important, so pay attention.
Stitch across the top and stop.
Now come down about 1 1/2" from the top and stitch around the rest of the apron stopping about 1 1/2" from the top on the other side.
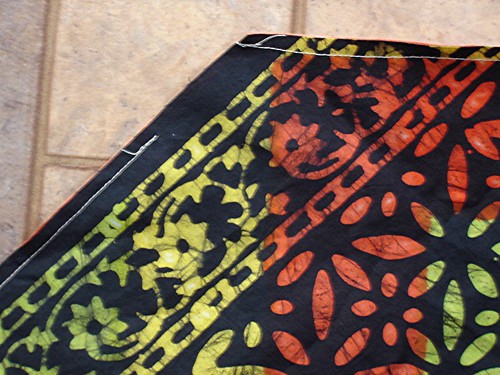
(leave an opening for turning somewhere along there. I forgot to and it was a booger to turn.)
8. Add the ties.
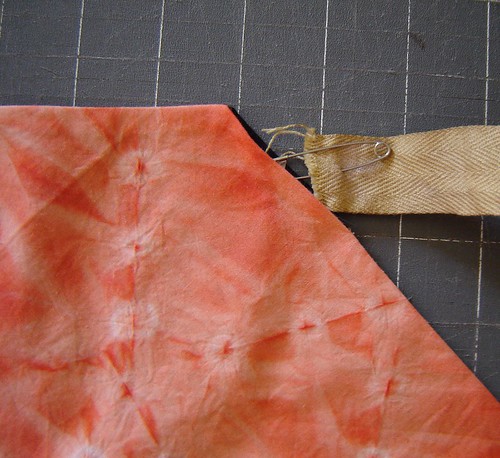
I thought this was rather clever. I wanted the ties to be inside the apron so that both sides could be the front.
Take your ties and thread them through the two holes you left at the top of your apron. Pin it in place.
Now top stitch the top of the apron and all around the sides.
Then come back and sew a second line about 1/2" from the first on the top only to secure the ties in place so there won't be any shifting when you wash it.
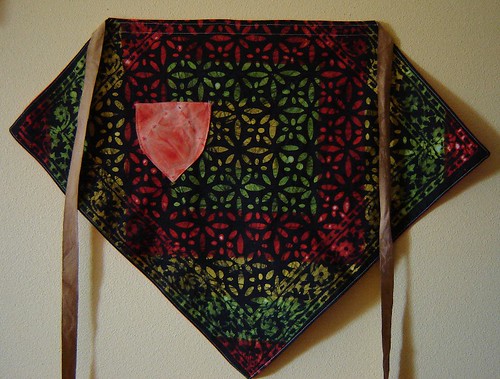
Your done!


3 comments:
what a wonderful tutorial!!
I love it! I almost bought 2 Halloween bandannas today, just so I could make this apron! But then I saw the price and put them back! But I will make this apron. Maybe after my vacation (3days)!
What a great tutorial. Thank you! I haven't actually got any bandannas but I do have lots of fabric!!!
Post a Comment