Welcome the the Blizzard of 2011. I have lived here in Southwest Missouri for over 25 years and have never seen snow like this. We got 20 inches of snow last week and it is still here. Amazing. The funny thing about Missouri weather is that it changes all the time. Just over a week ago we had temperatures in the 60's and 70's. The kids were wearing shorts outside. Then 3 days later we were in the middle of the biggest blizzard I have seen since I was a little girl. (maybe not even then)
We cancel school here when there is 1 inch of snow. We are on our second week of NO SCHOOL (except for the one kid doing home school, poor kid just keeps plugging away at his work).
With so much snow at hand and no prospect of it melting for a week, we decided to give Snow Dying a dry. I have seen fabrics labeled as "Snow Dyed" at quilt shows for years but never had enough of the white stuff to give it a try. Well now I got my wish. Happy day!!!
The procedure is very simple and so much fun to watch.
1. Prepare your fabric for dying by soaking it in Soda Ash solution (1/2 cup salt, 1/3 cup soda ash, and 1 gallon hot water). Soak the fabric for 30 minutes. The fabric has to be 100% cotton and pre-washed to strip off any finishes. Squeeze out the fabric.
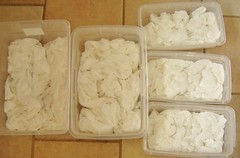
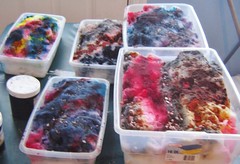
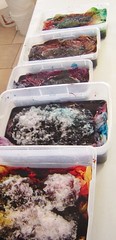
2. Scrunch up the fabric in the bottom of a tub. You can fold it too.
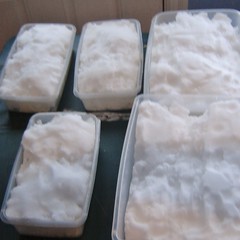
3. Pack the tubs with snow.
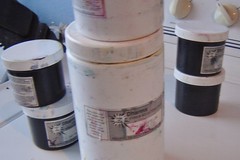
4. Sprinkle dyes right on the snow. I use Dharma Trading Co for my dye supplies.
5. Watch the snow melt. This will take a while unless you have a very well heated room. I used my laundry room which has no heat to it. So.... The next morning the snow wasn't that melted. I moved them to the kitchen and them started melting pretty quickly.
6. Finally rinse them out under running water until the water is mostly clear. Then wash them in a top loading machine with synthrapol detergent. If you can't get this, you can use some Dawn dish detergent (about 1 tbsp for a full load).
I washed mine twice, the second washing was in my front loader machine on sanitize with my regular detergent. Then dry them.
Here are some close ups of some of the fun bits.

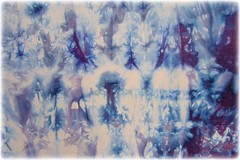
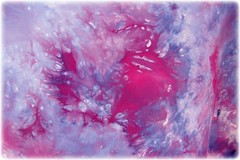
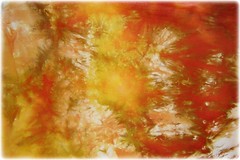
My daughter thinks they look like Oort Clouds. I think she is right. :o)
I think the browns are my favorites. That could just be because they are warm colors and it is so cold this week.
TIPS:
The thing I found to make the most difference was using "mixed" colors not pure primary colors. As mixed color dyes move through the snow and the fabric, they separate and move at their own speeds. This results in the best coloring on your fabric with the most crackles and fissures on the cloth. I love it!! I can't wait to try it with some serous greens and yellows. Only problem is what to do with the fabric now. Sad thing is they will most likely just end up as soap wrappers. I use my own hand dyed fabrics for my soap wrappings.
I think the colors are so much more vibrant because I used dye powder directly on the snow instead of dye solutions. This makes the colors more intense.
Next tries might include putting the fabrics or a rack instead of in tubs so the water drains away. Will see what affect that has. :o)






12 comments:
I love this! So beautiful!!
this is so cool! I'm wishing we had some snow here to try it out! They turned out lovely
it's like you're laying on the ground looking up at the sky through the trees <3
That is so cool and they came out just gorgeous! Really vibrant and pretty! Thanks so much for the how-to, I'll be linking.
great tutorial - thank you for sharing :)
I'm loving this! I wonder how it would work on yarn? Maybe I'll try it to over dye some.
This is so cool! Our snow is finally melting this week after 2 months of white, but there's still enough of it left for me to give this a try :-) Thanks!
How can we do this without any snow?? :( I guess Florida now has it's downfall. No snowfall. Beautiful finish and photos, so thanks for them! We'll be linking!
jo from Ottlite.com/blog
Jo - I only get snow like this once every 20 years or so. I am NOT waiting that long to try this again. I am going to get my hands on some snowcone ice. That should do the trick. I hope. :o)
Glad you tried the dry dye technique. Yours are beautiful!
That looks so cool and the results are amazing!
You can also do this in the freezer. Wet the fabric, scrunch it up, freeze it. Take it out, pour dye on it, and it comes out looking about the same. So if you don't have snow, don't let that stop you!
Post a Comment