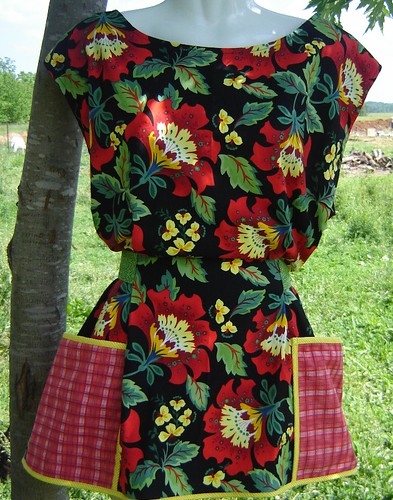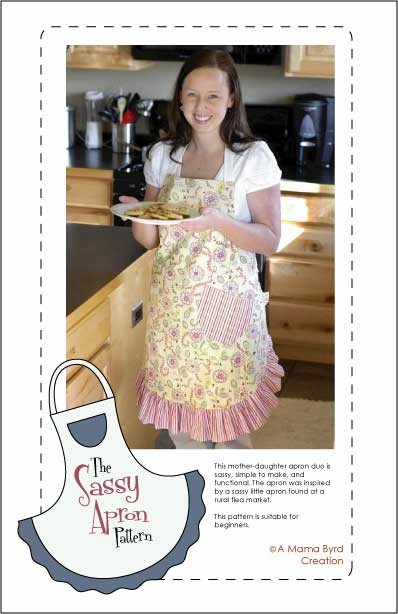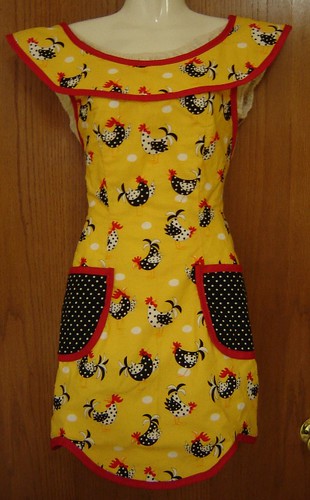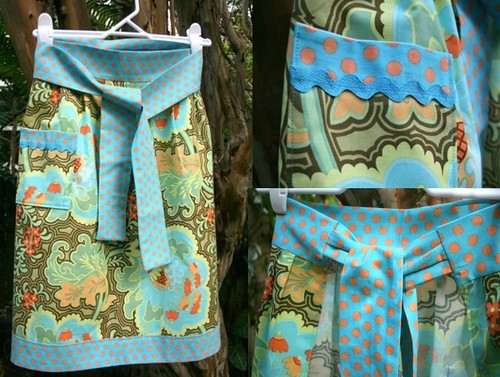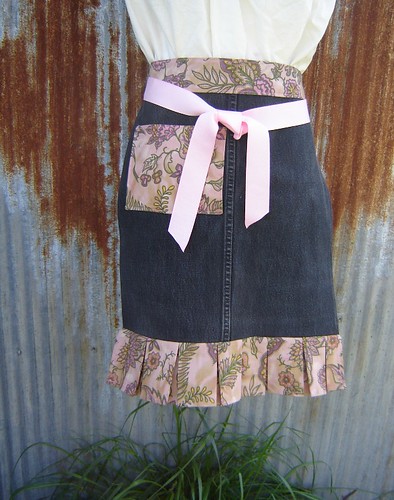
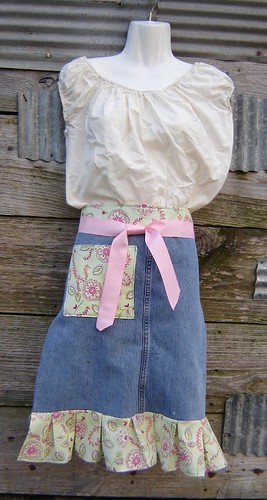
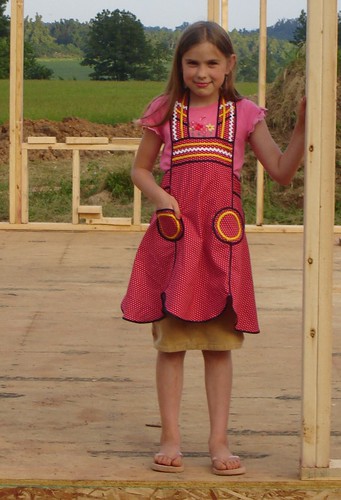
I couldn't help myself. I had to make another apron tutorial. I vowed I wouldn't do anymore after last year but I miss them! I love creating aprons. I can't take all the credit for this. I got the idea from my niece
Angelic's Spring Sassy Apron. It was just so sweet and simple. I had to make one and I thought you might like making one too.
Supplies:
an old pair of jeans (actually just one leg)
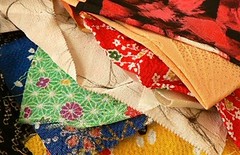
Scraps of fabric
1 1/2 to 2" Ribbon (optional)
The instructions - (I won't be giving exact measurements because I didn't really make them and you can tailor this to fit what you have on hand.)
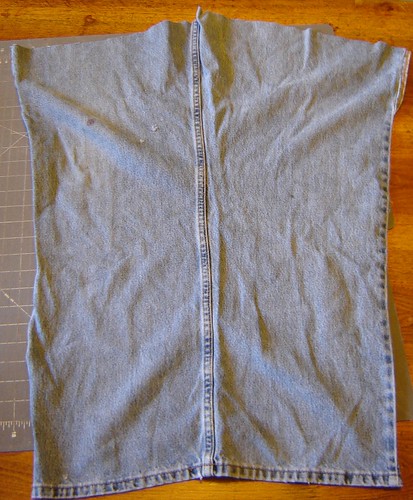
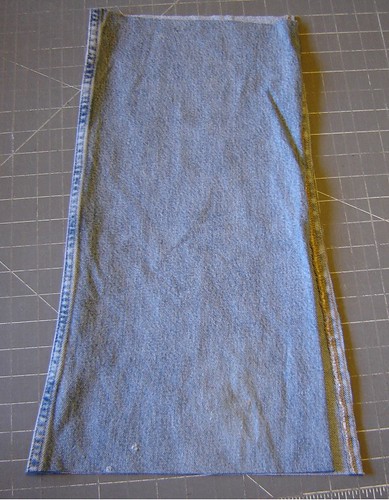
1. Cut the leg off an old pair of jeans and cut the inside leg seam open. Lay the leg out flat.
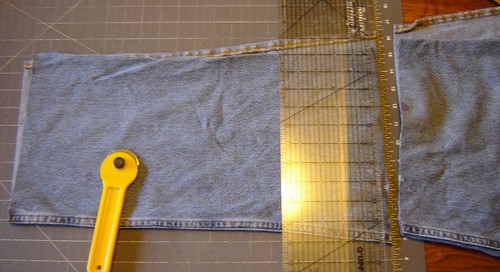
2. Fold the fabric in half and trim off the leg hem. I measured down 18 inches and made a straight cut. This is easily done with rotary cutting tools.
3. You will notice that one side of the pant leg is wider than the other. Trim them up so they are even.
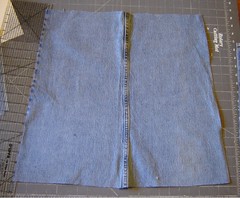
This is what it should look like now.
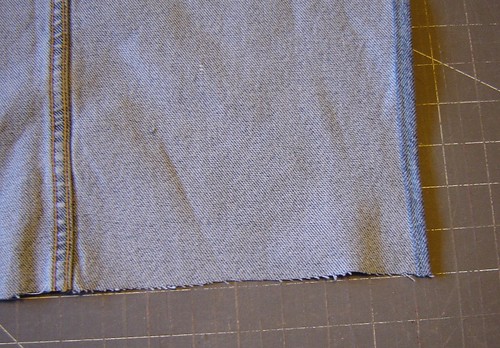
4. Fold the sides under and top stitch to finish the edge.
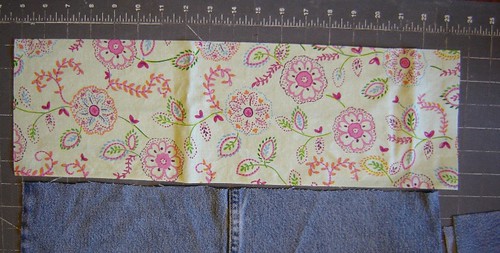
5. Cut a piece of fabric the width of the top of your apron plus about 2 inches or so. I cut mine about 6 inches wide. This will be your waist band.

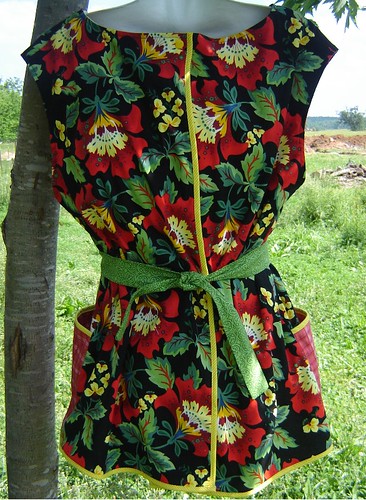
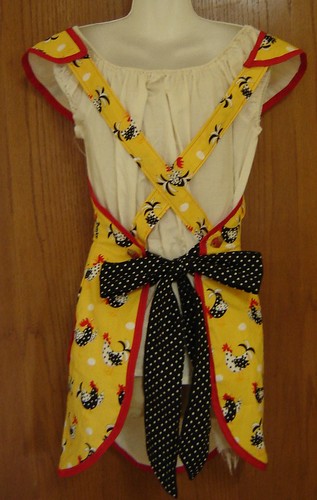
6. Take your waist band piece and fold it in half lengthwise and press. Then fold each of the long sides in about 1/2" to 3/4" and press. Sandwich the apron top inside of this band now. Take the ends and fold them over the apron top and then fold the band piece down. I know that sounds confusing but I hope the picture shows this.

7. Cut two pieces of wide ribbon for the ties (about 32" long each) and sandwich them into the layers of your waist band. Top stitch all the way around the band to secure everything.

8. For the quick pleat ruffle, fold the apron bottom in half. Fold it in half again. Fold it in half one more time. :o) Yes three times. Now press it really hard with your iron.
I cut out a ruffle piece that was about 5 inches wide by the width of my fabric. (that was the size scrap I had so I used it.) Hem one long side of it and the two short ends by folding under and stitching. Fold this ruffle in half three times like you did the apron bottom. Press it very well with a hot iron.
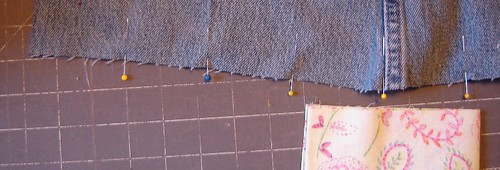
9. When you unfold the apron bottom, quickly pin where the creases are or they will disappear quickly.
10. Unfold the ruffle piece and pin it to the bottom of the apron matching up the crease lines.
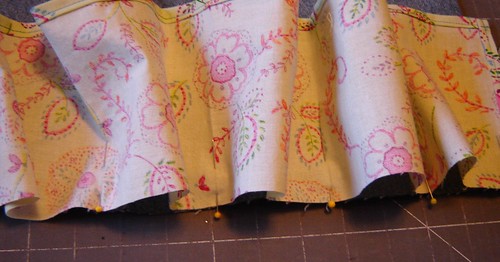
11. Eyeball the pleats now which ever direction you want them to lay. Have fun. I made box pleats.
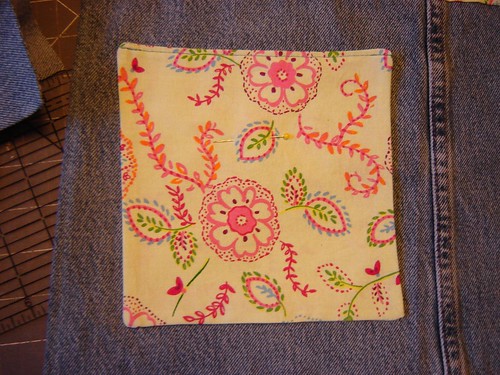
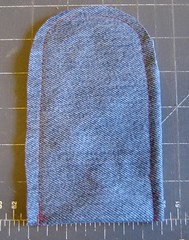
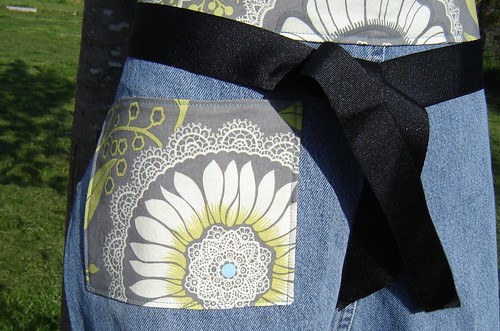
12. I almost forgot the pocket. I cut out two 7" squares from my fabric scraps. I sewed around the edges leaving a hole to turn the pocket. I top stitched across the top of the apron and the pinned it in place where I wanted it and stitched it in place. I like my pocket on the right side because I am right handed. I think the pocket looks better on the left for some reason but works better on the right for right handed people.

13. To finish off your ties, cut the ribbon at a 45 deg. angle. You must seal the edge or it will ravel really bad. You can do this by running it quickly over a flame from a lighter or a match. I just couldn't take a picture and demo it. :o)
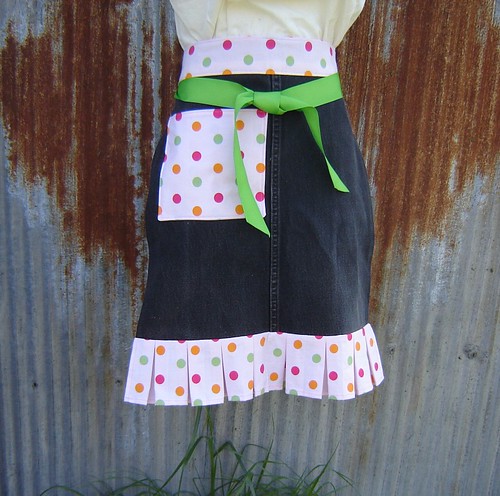
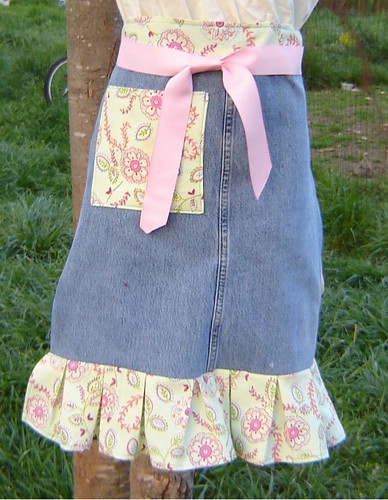
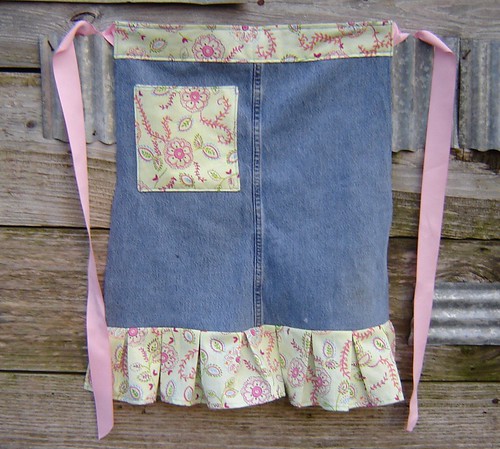
Now you are done!
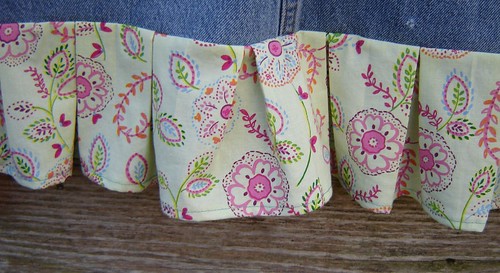
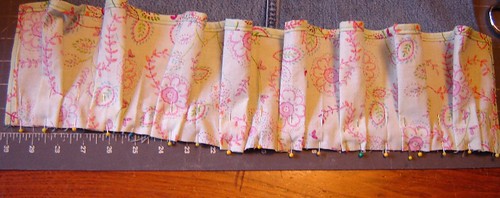
Ruffle detail.
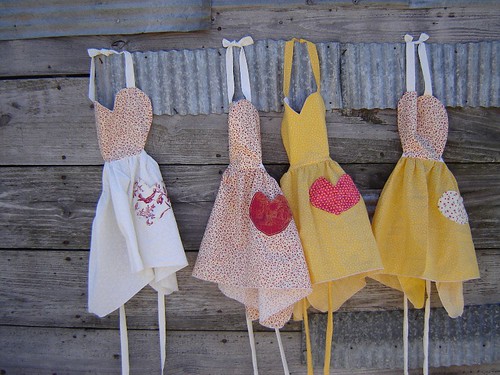
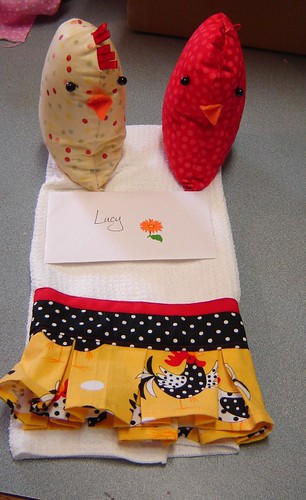
Ok Now that you made it all the way to the end, I have a treat for you. I just love this apron. I would like to share one with one of my many bloggies. So in honor of my Birthday on Tuesday, I am going to make another one of the puppies and offer it to one of my bloggies. What I will do is post a picture of it on Tuesday morning and I will watch all the posts that day. At midnight, I will put all your names in a pot and pick a lucky winner that I will ship my apron off to to celebrate my birthday. I can't wait to see which of my blog land friends gets to have the sassy jeans apron.
****Edited May 26, 2009 *****Dear bloggers,I have had some questions asked about how to make this apron just a little wider. This might be necessary if the jeans you are using are not really big. I use rather large men's jeans because that is what I have access to. To widen the apron simply cut off the other pant leg of the jeans. Cut it as long as the desired apron. Cut the let seams open and trim up the pieces so you have two equal sized pieces. Simple add each of the pieces to the sides of the apron and sew them on. Then follow the tutorial as normal. You will now have a much wider apron with a very similar look to the ones in the pictures.Hope that helps!


 Yea! They are back in stock. Thank you for your patience and continued interest in Mama Byrd Creations!


 Join our flickr group and display the things you have made with tutorials from My Byrd House